Horse Hairdryer
EquiDry


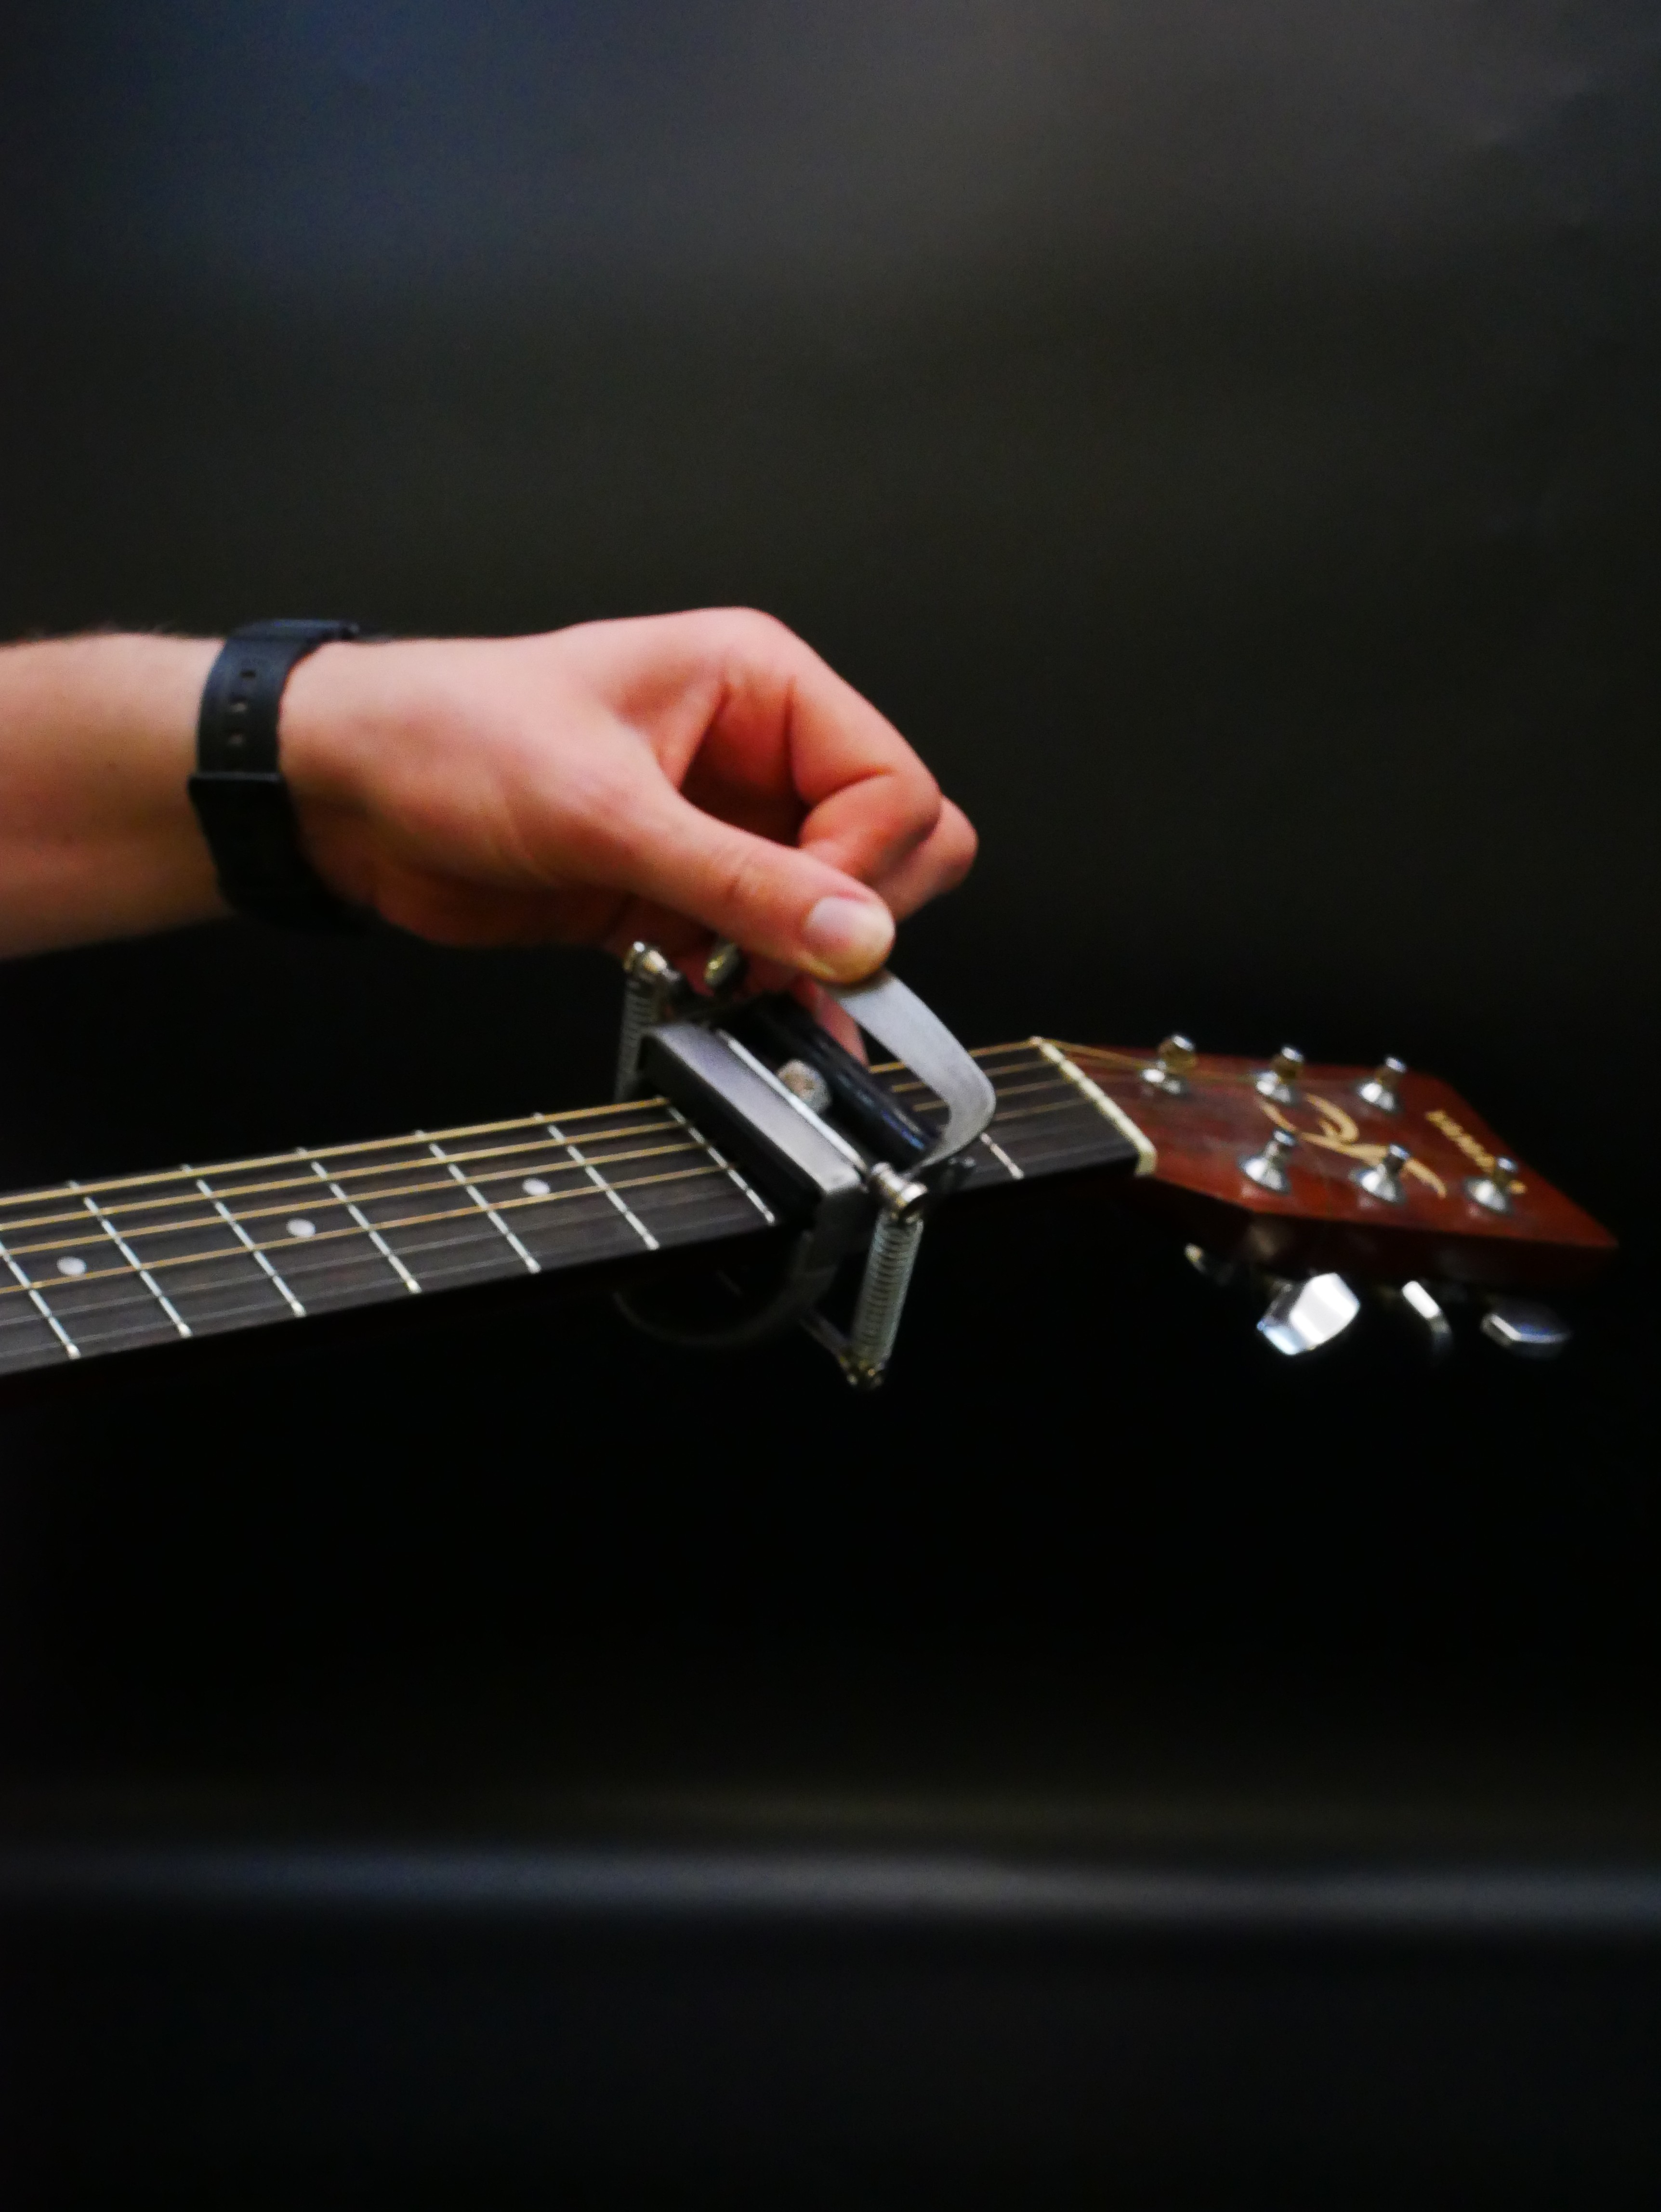
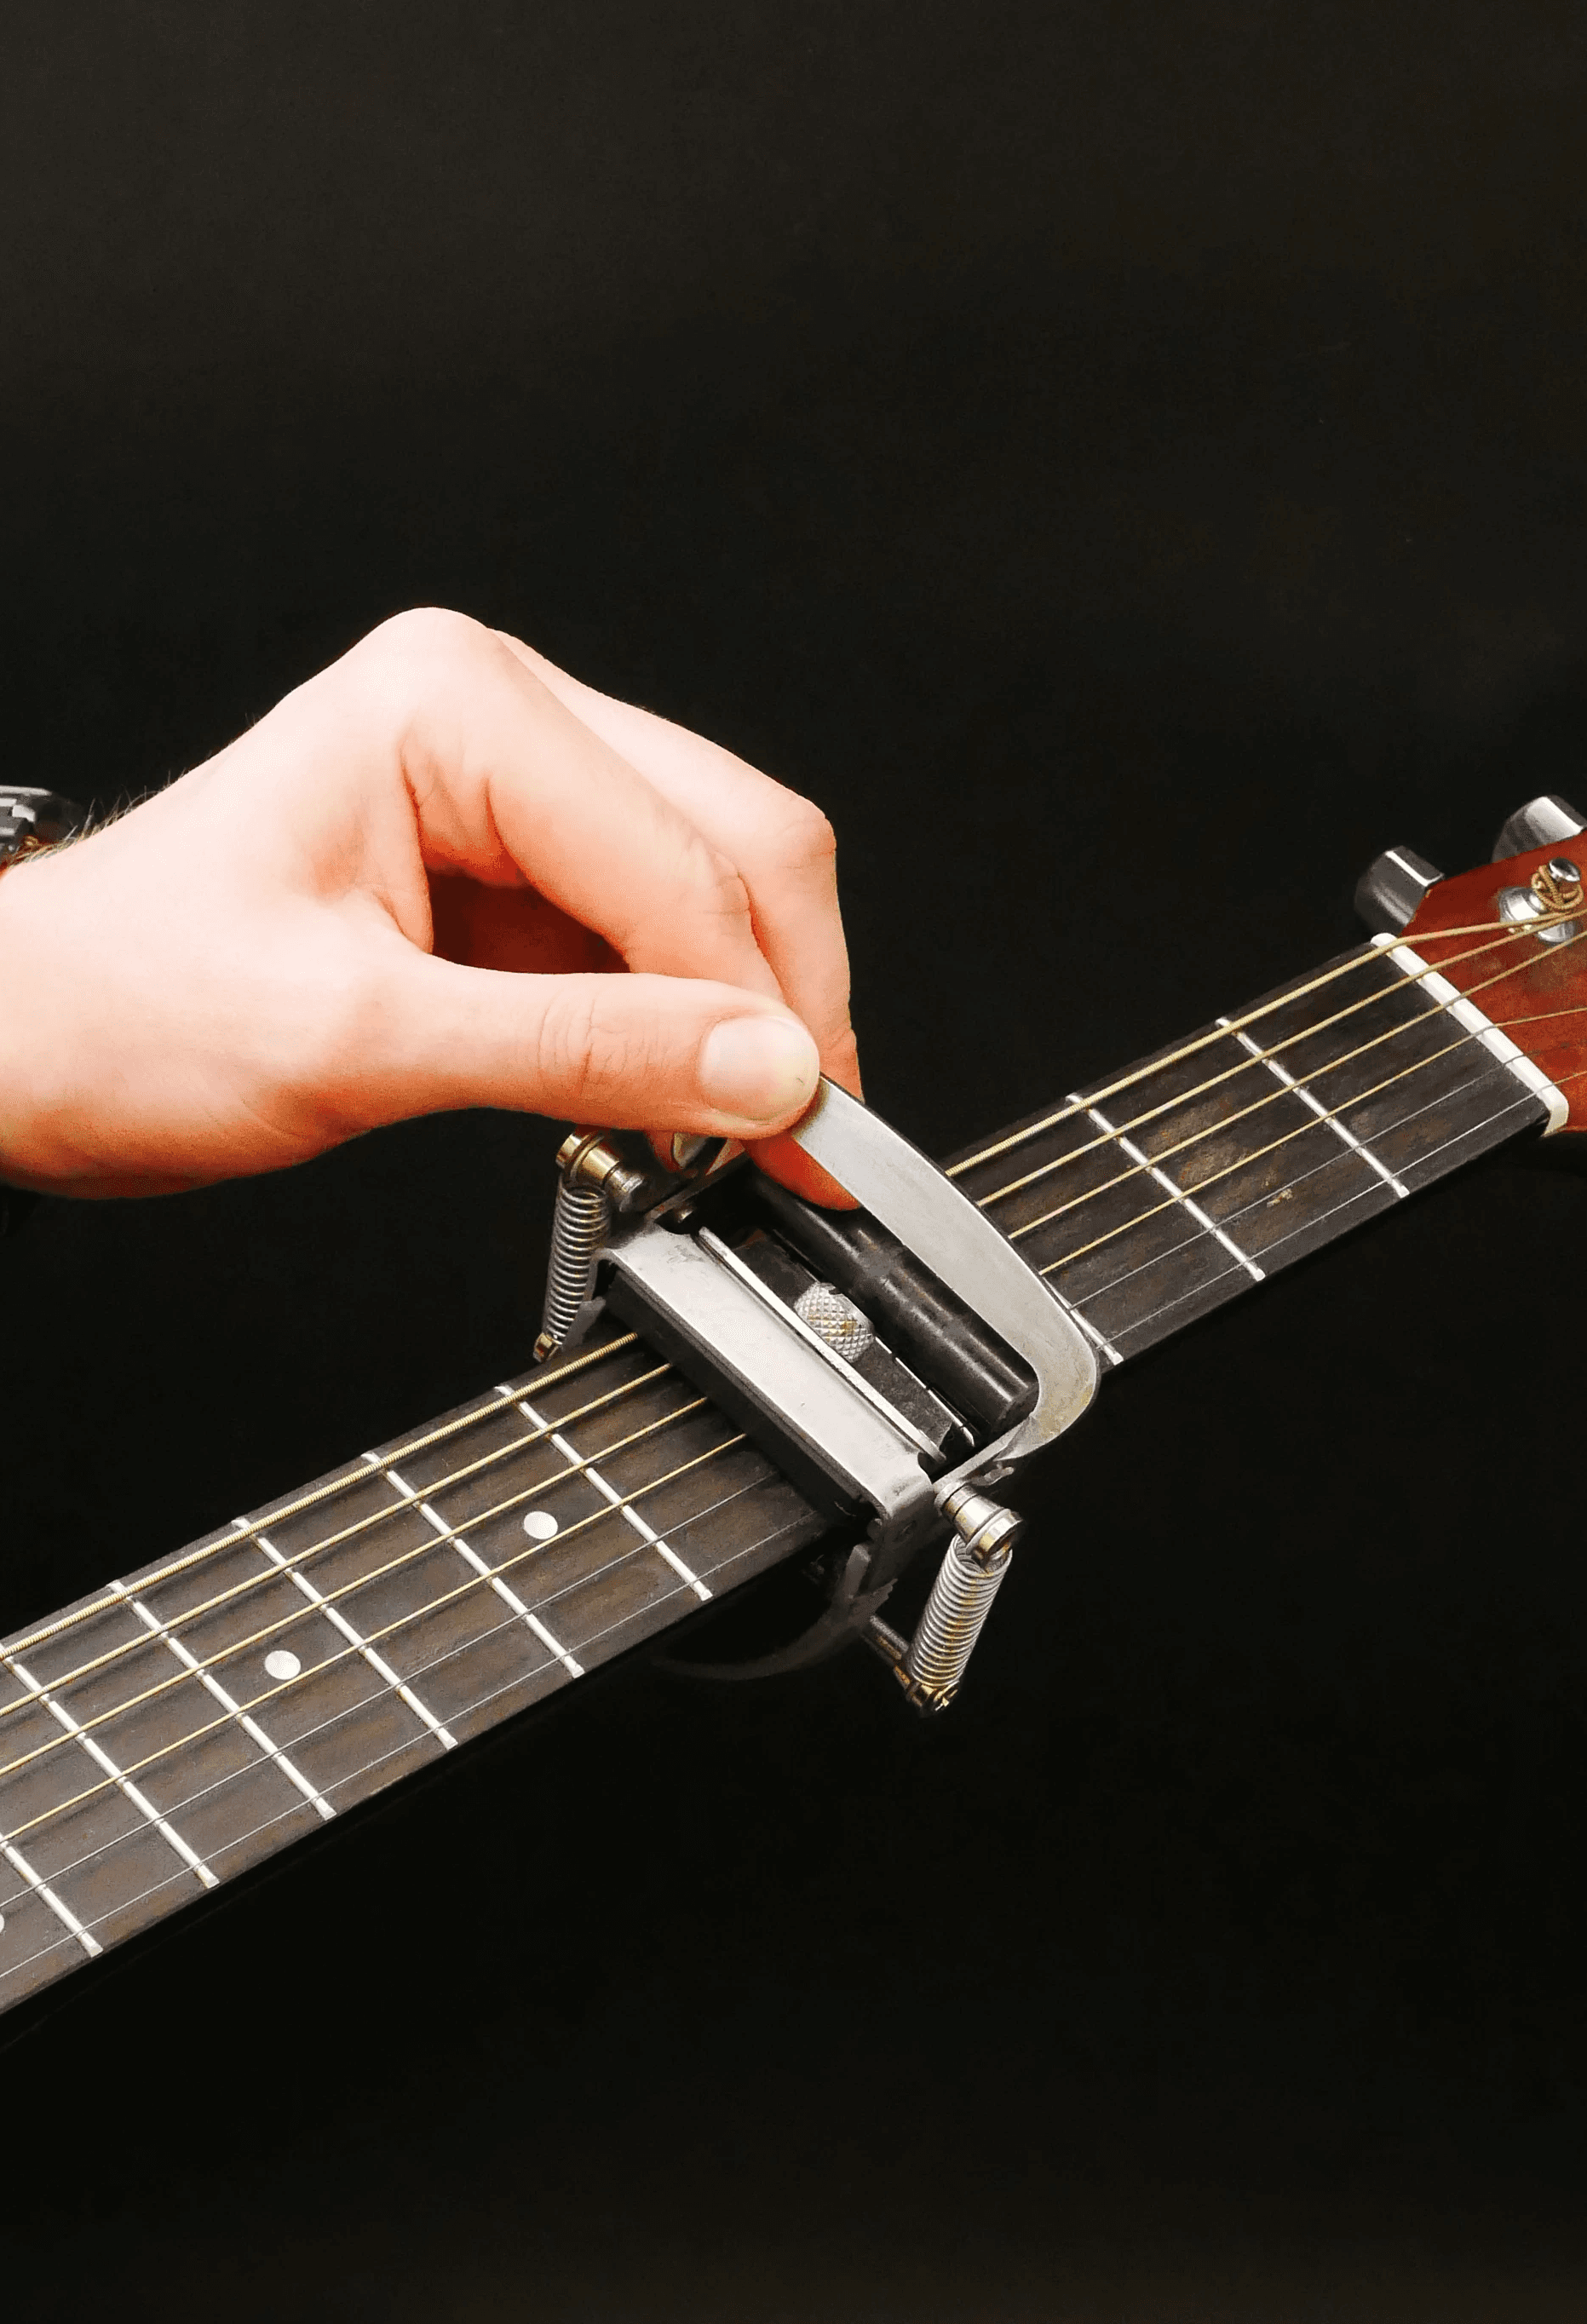
KeyGlide was the final project of my degree. It's designed to increase the speed which a guitar player can move the capo (or clamp), enabling them to change the position of the ‘open strings’ mid-performance. It works using wheels and pads to slide and guide the device along the fretboard, releasing and applying pressure with the player's thumb.
KeyGlide was the most challenging project I attempted during my degree. This was a solo project, whereas I had usually worked in a group beforehand. It really forced me to complete tasks I had sometimes deferred to groupmates.
I had an industry professional to advise me and keep me on track to my vision. Doing the project on my own also gave me some creative freedom to explore and move at my own pace.


Process


I started with planning and goal-setting (specifications, aims & objectives), which informed research into different products relating to guitar playing, and getting the most out of the fretboard. You can read my research document, including early sketches here.
Once I felt I understood project goals and timeframe of the project, and felt I had adequately reseached solutions, I began to come up with my own.
I started by rapidly sketching anything that came to mind, sliding mechanisms, modified versions of existing products, and levers were prominent.


Here I worked with my peers using the 365 technique, where six people collaborate on eachothers projects, the solutions are low-fidelity and uninformed but provided a fresh perspective,which gave me some ideas to explore.
SCAMPER is one of my favourite ideation techniques, it allows me to get out of my own way and force me into thinking about different aspects of a concept. I used it here.


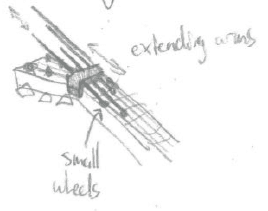

Three concepts emerged as worthy of bringing forward. I chose this one with a levered mechanism. It is sprung against the strings to press on them. It seemed most feasible, useful, and interesting to me.


The most clear problem to solve was how to provide pressure to the strings. I initially thought of traditional tension springs, but was inspired by this video by YouTuber Mark Rober, where he creates the world's smallest Nerf blaster, using compliant mechanisms. See below.
This idea inspired the initial prototype direction.


It was important to explore how this compliant spring from the blaster could apply pressure to the strings. Through a cardboard prototype, I could see the idea showed promise, even though it was quite bulky.


I then pivoted slightly and prototyped a design I hadn't thought of yet. The idea here is that a thin elastic ribbon, attached at either end to a roller, could be slid up and down the neck, applying pressure to the strings regardless of the thickness/shape of the neck. In hindsight, this may have been a more worthy avanue to explore.
My thought was that the ability to access the open strings would make the device more useful. The thumbed lever allowed me to do that.
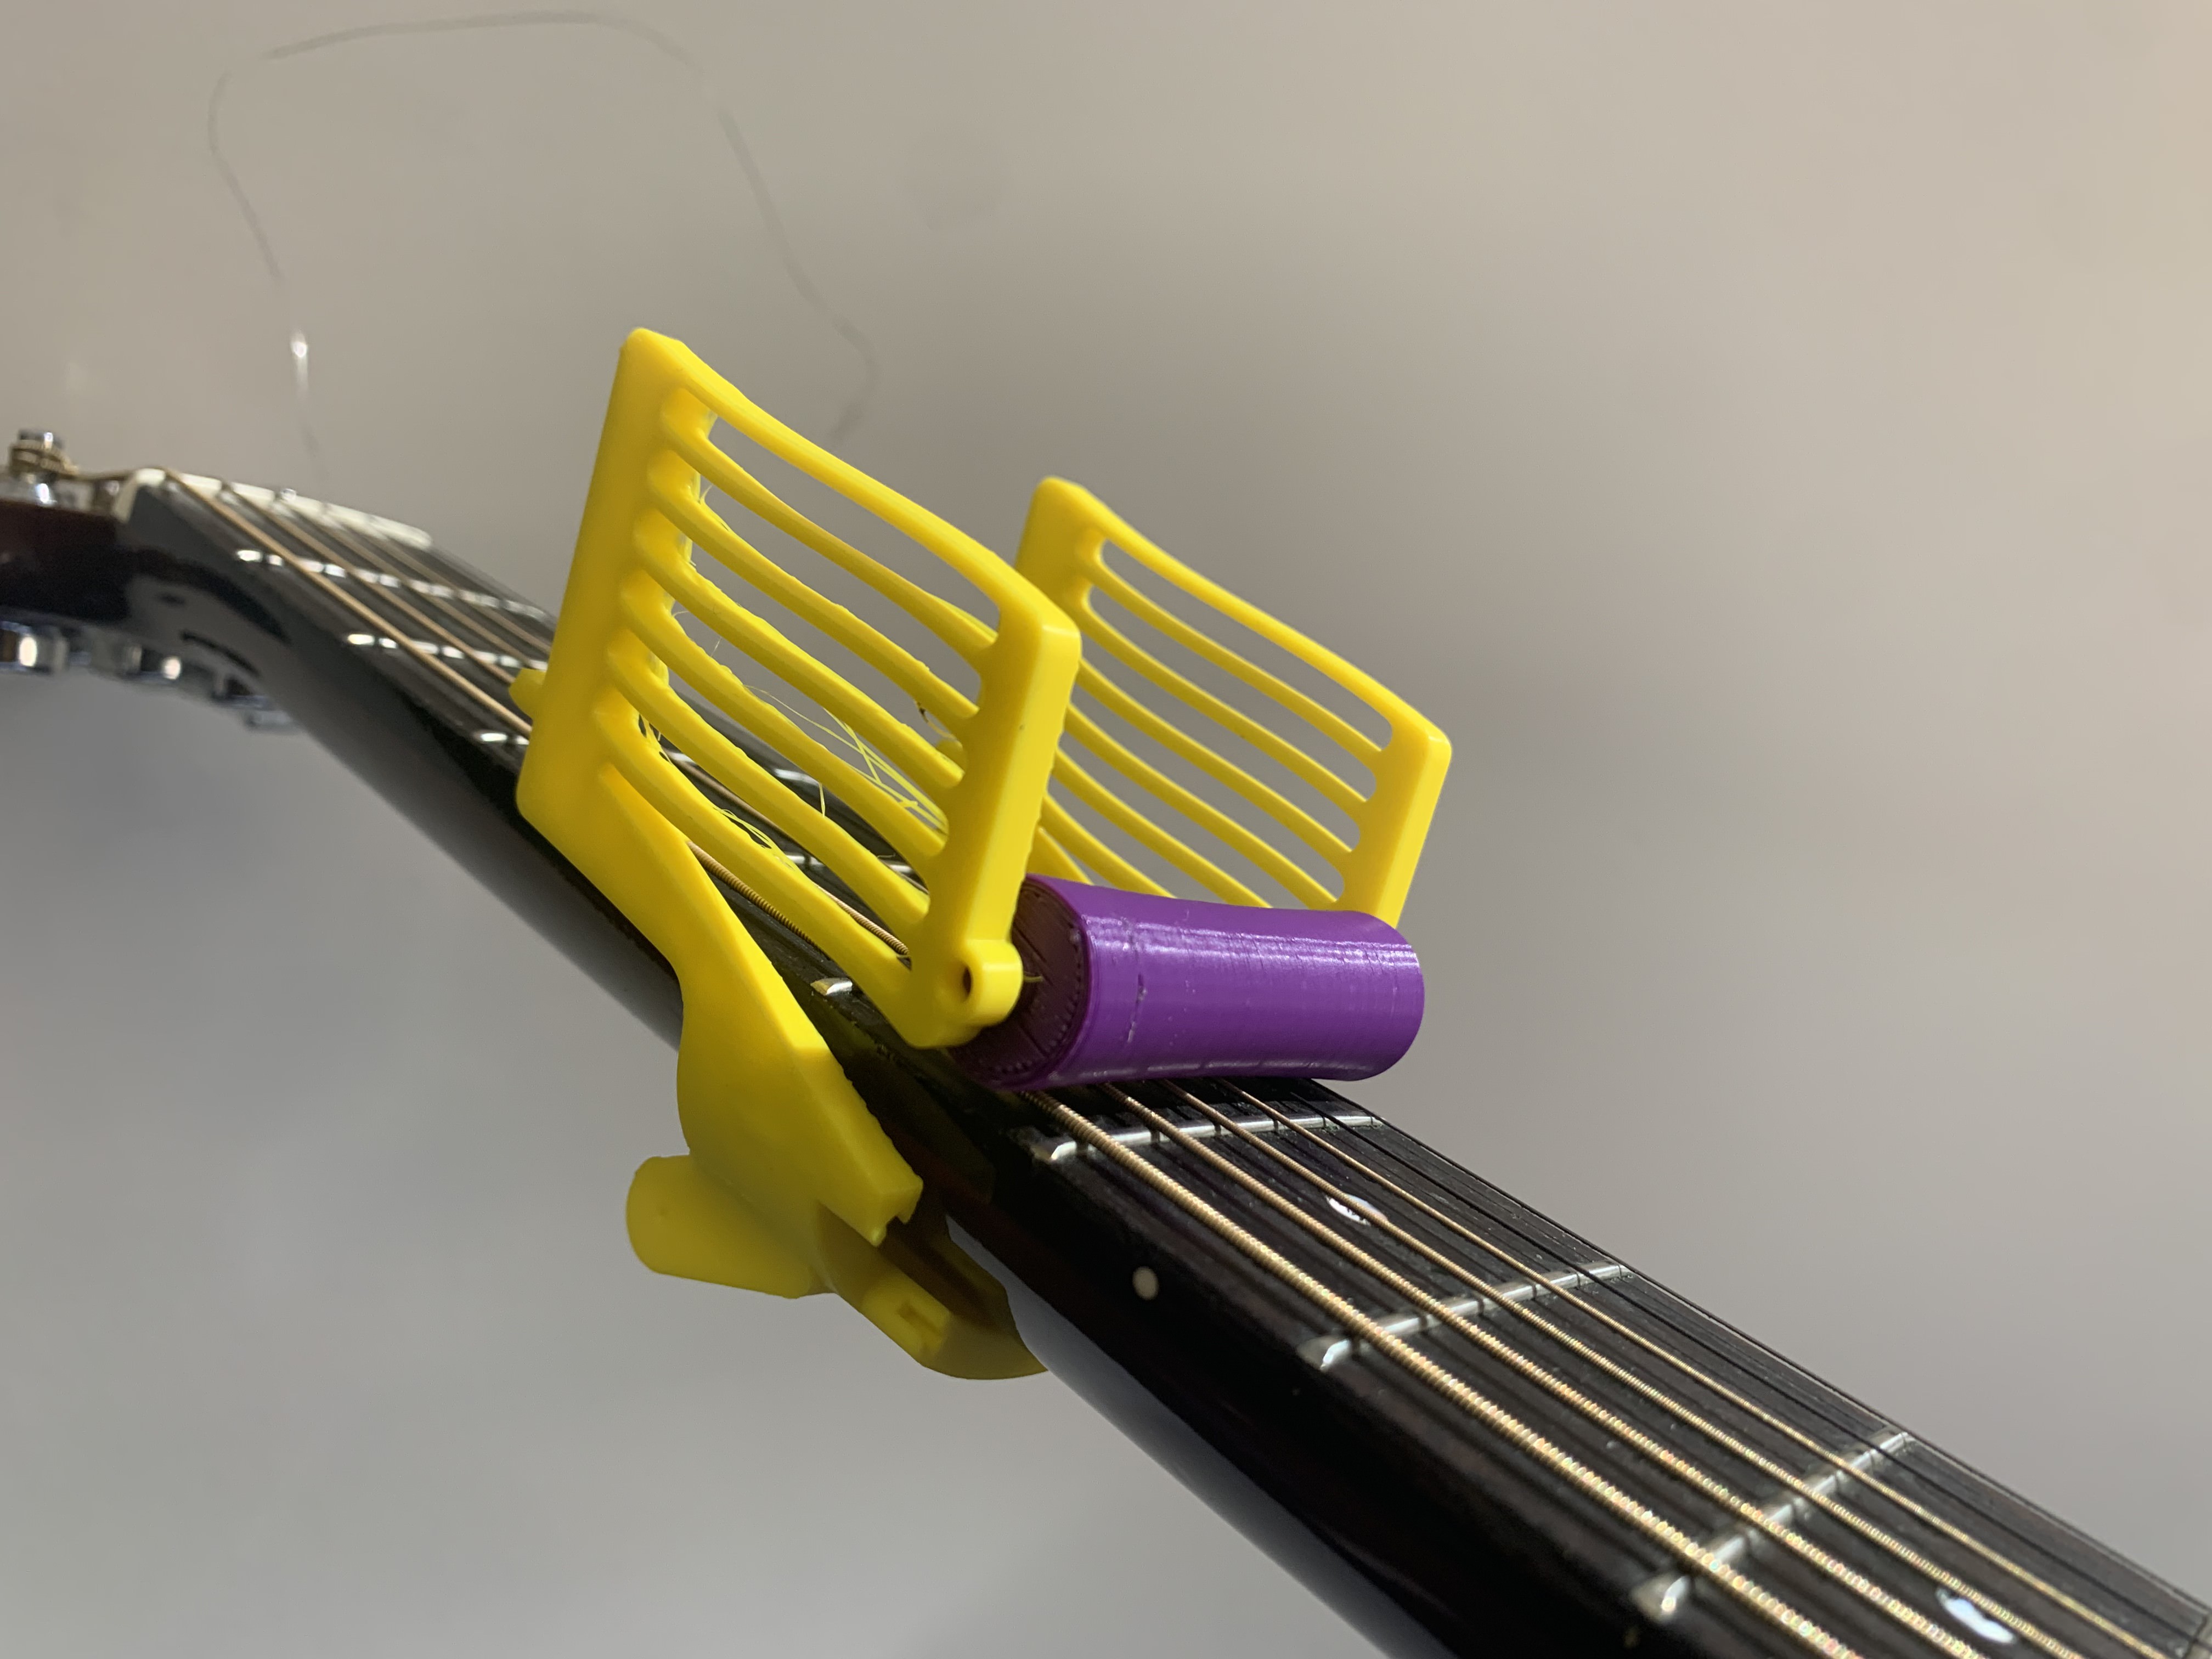

The springs were too stiff on the previous prototype, so I rectified that, along with some other features (such as sprung wheels). However, it turned out not to need them. This prototype didn't include the lever, so I could focus on the other parts.
Using the springs I already had was the better option. This design is essentially an existing product, Glider Capo, with a levered mechanism. It still pressed the strings further up the neck at the pivot point. I planned to rectify this problem with a mute pad.


I experimented with different ways of interacting with the strings, with pads that only press a select few frets. A lever was used to tension the strings.
This prototype focused on strengthening and refining the lever and the touch point pressed by the thumb.

This was the first reliably working prototype, with he levered spring mechanism adjusted correctly, it was able to provide enough pressure to press all the strings at once.
I enjoyed this prototyping stage immensely. There was so much background work getting done at this time also, which you can see, along with more prototype development here.
Result


The result is a working prototype that looks and functions as designed. This prototype was created in a residential garage using waterjet-cut steel, fixings, cast synthetic rubber, and 3D-printed resin.

Doing this project taught me most out of anything I'd done before it. It dropped me in the deep end, even though I had prepared as well as I could. I am pleased with the end product, but with hindsight, there is much I would change and adapt.
Most importantly, the design is trying to do too much, making it complicated. I became quite attached to the idea of lifting the capo off the strings and accessing the frets "behind" it. At the time, this seemed more important, although it was the primary cause of the design's complexity.

Without the complication, the capo could have been based on an elastic capo like the one shown above. Getting it to roll properly would have been a problem to solve, but the result would have been far simpler.


Regardless, I am pleased and proud of what I came up with in the time I had. It was a fantastic project and a wonderful learning opportunity. I may revisit this project in the future.
Gallery